


DIY vs professional assistance for tasks like oil changes is a common discussion among car owners. I am a major do-it-yourself kind of guy, but my favoritism was challenged.
Last month, during the guy’s night out, this topic made its way into our conversation. As the discussion escalated, it really got me thinking about whether DIY makes much more sense in current times or the experts like Valvoline.
Luckily, a few weeks later, my Kia Telluride’s dash lit up with a reminder for oil change, giving me a great opportunity to make real-life observations.
I decided to try both oil-changing methods and see how they compare in real-world cost, time, physical labor, and stress. One weekend, I did a full DIY oil change in my garage, and a few weekends later, I visited Valvoline Instant Oil Change and let the pros handle it.
What I found at the end of my little experiment held small wins for my preference mixed with tool setbacks and a whole new appreciation for fast-lane service.
Why I Decided to Compare Both Options
Maintenance is an integral part of car ownership. You can never get the full value out of your investment until you take good care of it. While in earlier times, when almost every individual preferred to take care of their vehicles at home, the modern, fast-paced world does not offer this luxury to many.
I found one of my buddies strongly advocates for Valvoline and its effortless service which helps him save time and money. It really made me wonder whether a professional car care shop is better in every manner than doing it at home.
Thus, I took on the challenge and found out whether it was my friend in the right by opting for experts, or me, who loves to do it myself.
What did I need to change my oil?
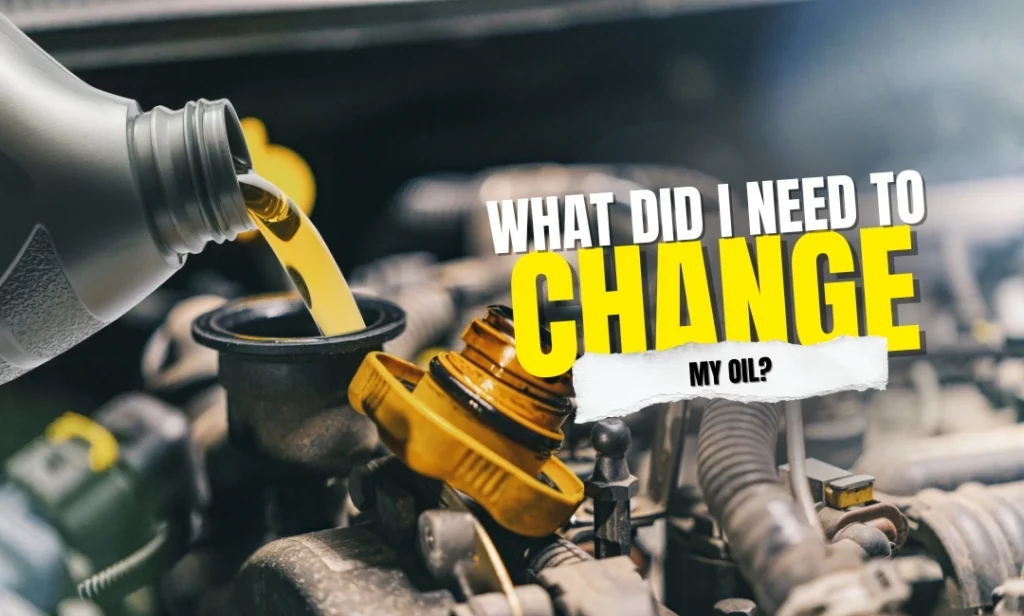
To perform an oil change at home, you need proper space, a basic tool kit, and the right way to do it. As I have been performing the task myself for years now, I had no problem. However, I will not nullify the problems that I faced when I first took on the task.
It was not rocket science, but it was also not as cheap or clean as you would want to think. Several YouTube videos became my step-by-step guide, but it was still far more difficult than what they showed in the videos. In the end, I finished the job and as time went by I became more efficient with fewer oil accidents and a better job done.
To perform the task this time, I first grabbed all the necessary items:
- 5 quarts of Mobil 1 5W-30 full synthetic oil
- A Fram Tough Guard oil filter
- A funnel, a drain pan, gloves, and my old oil filter wrench
- Jack stands and a floor jack (to lift the car a bit)
- A couple of old towels
- A jar or container for old oil
I only had to spend on the motor oil and oil filter as I already owned all the required tools to perform the oil change. It cost me $41. However, if you are doing it for the first time, buying a tool will add about $20 to $30 upfront. But it is a one-time investment.
How It Went
I was 100% sure of my skills and was confident I would be done in no time. However, luck was not on my side, and I had a true battle performing the task, actually making me realize why so many people choose to avoid it.
I started by jacking up my car and securing it properly before sliding under it. I loosened the drain plug and was able to do it without spilling too much.
The next step was to remove the filter. I took out my beloved oil filter wrench, but it was no help. The filter was stuck, and my wrench didn’t grip right. It was a disaster. I had to make a last-minute run to O’Reilly for a new one. This not only added another $12 to my spending but about 30 minutes to my ticking clock.
Finally, with a new wrench at my disposal, I was able to remove the oil filter. I carefully drained out the old oil in the pan, stored it in a container, and poured in the new oil. It took me about 30 minutes to get this part done.
The task did not end there, as I had to take another trip to O’Reilly to dispose of the old oil, adding another 25-30 minutes.
Total Time: It took me 1.5 hours, including the parts and oil disposal run. Usually, it takes me no less than 45 minutes, but this time, it felt like I was doing it for the first time all over again.
Total Cost: It cost me about $53 ($41 for oil and filter and $12 for wrench).
Would I call the entire experience satisfying? Honestly, yes. As a car fanatic, I enjoyed the challenge and it was thrilling and satisfying to be able to do it so well. I stand firm on DIY for oil change.
A Few Weeks Later at Valvoline
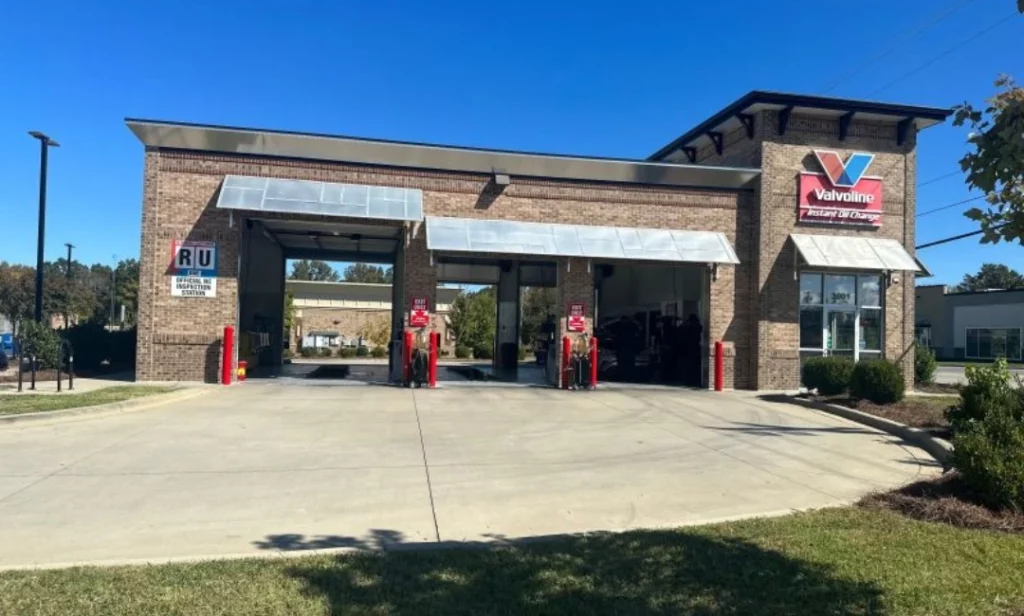
Although I was satisfied with my job well done, I had to move ahead with the next part of my real-world experiment. Thus, a couple of weeks later, I went to the Valvoline Instant Oil Change location, where my friend, who raves about them, prefers to go.
I just drove there when I had free time on my hands. I didn’t need an appointment, which was a big positive. I simply pulled in and waited for about 10 minutes. I stayed in my car until the technician inspected it and then ran me through the basics.
The staff there were polite. They confirmed the oil type for my car and checked the air filters, wipers, fluids, and tire pressure. They tried to sell me an air filter and a cabin filter, but I passed on those. And they didn’t ask again.
Once we were on the same page, they used the Valvoline Advanced Full Synthetic oil and topped off my washer fluid. Throughout the process, they kept me updated as I had also opted for Valvoline’s 18-point inspection, which was totally free.
Total Time: It barely took 30 minutes in total from inspection to getting the oil changed. And I was impressed.
Total Cost: The synthetic oil was priced at $79.99. However, I had a $15 coupon that I found on their website, bringing down my final cost to $64.99.
Which One Took More Time and More Price?

In my real-time comparison, I found Valvoline’s service to be more efficient or faster compared to DIY. However, when it comes to money, it was a little pricier than doing the job by myself.
I spent approximately $65 at the Valvoline oil change center and was through in under 30 minutes. However, it took me $53 and about 90 minutes during the DIY.
Here’s the side-by-side comparison to help you understand better:
| TASK | DIY | VALVOLINE |
| Setup & Prep | 15 Minutes | 5 Minutes |
| Oil Change Process | 30 Minutes | 20 Minutes |
| Cleanup/Disposal Time | 30 Minutes | 0 Minutes |
| Total Time | ~ 90 Minutes | ~ 30 Minutes |
| Total Money | $53 | $64.99 |
Thus, you can see that doing it myself took me three times longer, with a little bit of traffic and a wrench crisis. And do not forget the clean up as you can not be ignorant of it.
On the contrary, professional assistance felt like a breeze. There is a waiting time that majorly depends on their rush. But once it is your turn, you are done in under 20 minutes.
The Real Headaches I Didn’t Expect
While making my full-size SUV go through two different oil-changing procedures was fun, I was not ready for the headaches I encountered on the way. If you are thinking this is something associated only with DIY, you are in for a surprise.
DIY Headaches
- Wrong wrench for the filter.
- A surprise oil splash on my shirt.
- Spilled half a quart while pouring (It really wasn’t my day).
- Figuring out where to take the old oil (real stress for first-timers).
- Double-checking to ensure I didn’t overfill or strip the drain bolt.
Valvoline Headaches
- Minor upselling on a cabin air filter and coolant flush.
- The tech didn’t explain well why I needed those extra tasks.
- The price feels high for a 20-minute task, with or without a Valvoline coupon.
- I didn’t like that I was unable to see how carefully they did the job.
My Honest Take On Who Should Choose What?
I went through a rigorous car buying process to purchase my current vehicle. Thus, you can imagine how careful I am when it comes to maintaining it.
By going through both professional and do-it-yourself oil change processes, I suggest that you should choose DIY only if you enjoy working with your hands, have ample time on your hands, have no problem with making a mess, and own the basic car care tools. DIY can save you a lot, especially in the long run.
However, if you do not have proper space to work on your car, value speed and convenience the most, prefer everything to get checked by a pro, don’t wish to deal with the associated hassle, and do not want to deal with oil disposal, Valvoline is the clear choice for you.
If you ask me, I will probably stick with my DIY. I like handling my vehicle as it makes me feel alive. Also, what are the chances that I will face wrench-like issues? With only motor oil and filter to spend on, I will be saving well.
Quick Tips For Smart Oil Change Choices
If you choose Valvoline, do not visit them without exploring their official website or Google for their coupons. You can always find at least one.
However, if you are inclined towards the old-school DIY, ensure you have AutoZone, O’Reilly, or Advance Auto nearby for easy disposal of your old oil. But before you go there, just call ahead to avoid any trouble upon your arrival. They also offer the best DIY supplies. Their staff can guide you well on your purchase, and you can definitely make good savings.
Frequently Asked Questions
How much can I save doing oil changes myself?
You can easily save around $20 to $30 per oil change once you have all the necessary tools.
Is it safe to rely on Valvoline for all oil changes?
Yes. Valvoline has licensed technicians, uses best-quality products, follows manufacturer guidelines, and often provides free extensive checks with almost every single service they offer.
How often should I change my oil?
Typically, most synthetic oils need to be changed between 5,000 and 7,000 miles. However, to be sure, refer to your owner’s manual. Valvoline even places a reminder sticker on your windshield.
Bottomline
After exploring both options, one thing became clear: they both got the job done. While the price gap is not much, the convenience difference is definitely something to talk about.
Doing an oil change at home is feasible, and you can learn as you keep doing it. If you are anything like me, you will love the rush with every step. However, if you want your involvement to be limited to money, Valvoline is there for you. Sure, you pay more, but you get the confidence of everything being right with your car.
My bottom line after this experiment is sticking to my guns. However, now I clearly understand why my friend feels so strongly about Valvoline.


